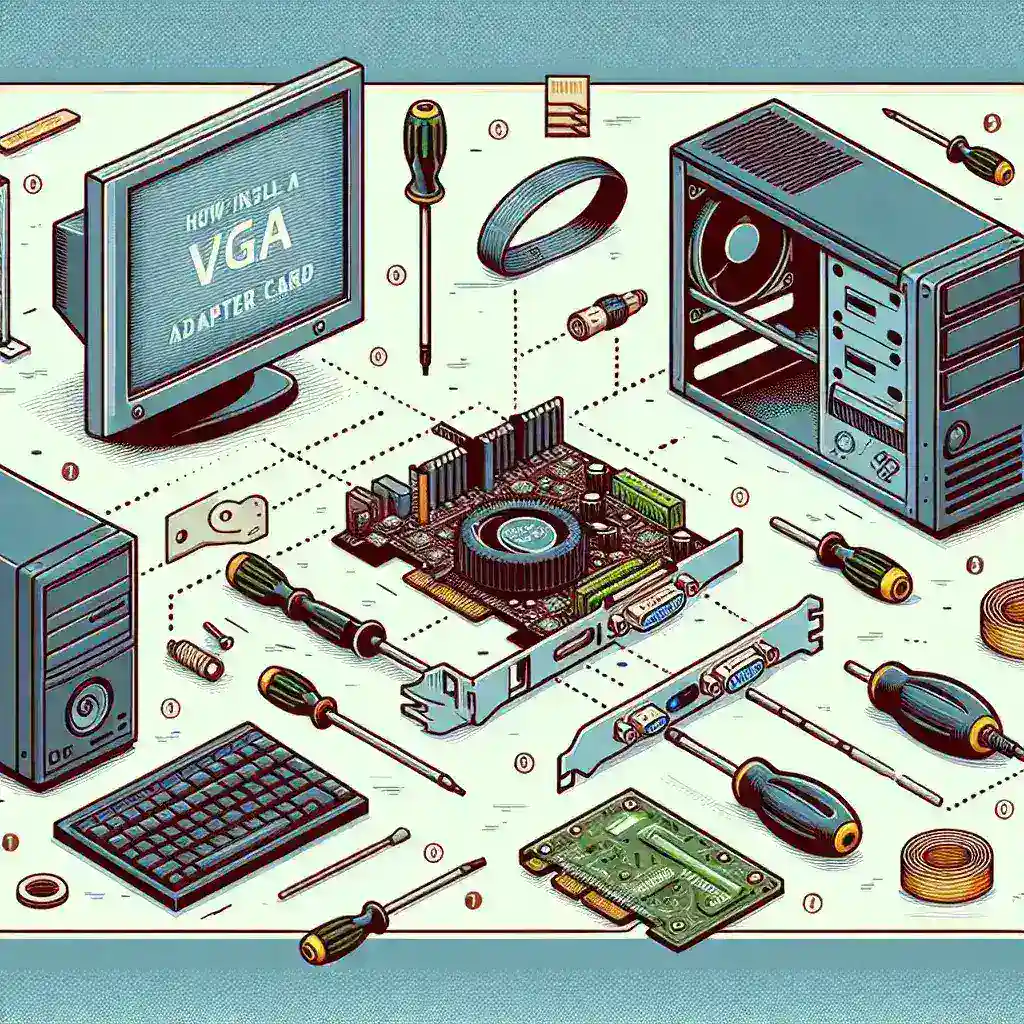
As technology advances, newer monitors and display interfaces like HDMI and DisplayPort are becoming the standard. However, many people still rely on legacy monitors that use VGA connections. This guide will walk you through the process of installing a VGA adapter card so you can continue to use your trusty old monitor with a modern computer.
Why You Might Need a VGA Adapter Card
VGA (Video Graphics Array) remains a reliable connection method for older monitors. Since many contemporary computers and motherboards no longer come with built-in VGA ports, a VGA adapter card becomes necessary. This adapter card acts as a bridge, converting the digital signal from your computer into an analog signal that your VGA monitor can interpret.
Required Tools and Materials
- Screwdriver
- Anti-static wrist strap
- VGA adapter card
- PC user manual (optional but helpful)
Steps to Install a VGA Adapter Card
Follow these steps to install a VGA adapter card into your computer:
Step 1: Power Down and Unplug the Computer
Ensure that your computer is completely powered off and unplugged from any power sources. This is crucial for your safety and to prevent any damage to your computer or the new adapter card.
Step 2: Open the Computer Case
Most computer cases are held together by screws or thumbscrews located at the back. Carefully remove these screws and open the case to access the interior components.
Step 3: Ground Yourself
Before touching any internal components, ground yourself by wearing an anti-static wrist strap. This will prevent static electricity from damaging sensitive parts.
Step 4: Locate an Available PCI or PCIe Slot
Identify an empty PCI or PCIe slot inside your computer. Refer to your motherboard’s manual if you’re uncertain. PCIe slots are usually preferred due to better data transfer rates.
Step 5: Insert the VGA Adapter Card
Remove the protective cover from the selected slot if present. Carefully insert the VGA adapter card into the slot, making sure it’s firmly seated. Screw it into place to secure it.
Step 6: Close the Case and Plug Everything Back In
After the card is securely installed, close the computer case and screw it back together. Plug your computer back into the power source and reconnect all peripherals.
Installing Drivers and Testing the Connection
Your computer may automatically recognize the new hardware and install the necessary drivers. If not, you will need to manually install them. Refer to the adapter card’s manufacturer website for the latest drivers.
Step 1: Turn on the Computer
Power up your computer. If the drivers are automatically installed, you will receive a notification.
Step 2: Manual Driver Installation
If manual installation is needed, insert the driver CD provided with the VGA adapter card or download the necessary drivers from the manufacturer’s website. Follow the on-screen instructions to install them.
Step 3: Connect the Legacy Monitor
Once the drivers are installed, connect your legacy monitor to the VGA port on the adapter card. Turn on the monitor and select the appropriate input source.
Step 4: Testing
If everything is connected and installed correctly, your monitor should display the output from your computer. If not, double-check all connections and ensure that the drivers are correctly installed.
Troubleshooting Tips
- No Signal: Ensure the VGA cable is securely connected to both the adapter card and the monitor.
- Driver Issues: Update your drivers by visiting the manufacturer’s website.
- BIOS Settings: Check your computer’s BIOS settings to ensure the PCI or PCIe slot is enabled.
- Compatibility: Make sure the VGA adapter card and monitor are compatible with each other.
Conclusion
Installing a VGA adapter card is a straightforward process that can extend the life of your legacy monitors, allowing them to be used with modern computers. By following the steps outlined in this guide, you can easily make the transition without any hassle. Enjoy the continued use of your reliable old monitor with your newly upgraded system!

